仿淘宝详情页图片鼠标移过去可对图片放大显示在右侧
效果图如下图,此功能支持PC端与移动端

接下来进入代码实现环节:
先准备两张图片,一张小图片叫 '土味.jpg',大小160*91;一张大图片叫 ' 土味Big.jpg ',大小320*181。
大家看图片名字是什么就知道我要干什么,大家都懂的,接下来素材准备好了,进入代码环节:
html结构:
div class="productLeft">
                 左侧中图  -->
                div class="mdImg">
                    img :src="qall" alt="">
                div>
                 遮罩层  -->
                div v-show="isShow" class="marks" :style="{top:top+'px',left:left+'px'}">div>
                 遮罩层 玻璃板 superMarks -->
                div v-if="isPC==false" @touchstart.prevent="enter" @touchend.prevent="leave"  @touchmove.prevent="marks" @click.prevent="sub()" class="superMarks" >div>

                div v-if="isPC==true" @mouseenter="enter" @mouseleave="leave"  @mousemove="marks" @click.prevent="sub()" class="superMarks" >div>

                div v-show="isShow" class="lgImg">
                    img :src="qallBig" alt="" :style="{top:topLgImg+'px',left:leftLgImg+'px'}">
                div>
            div>
js部分:
export default{
        name : 'blog-header',
        data(){
            return{
                isPC:true,
                // 大图片
                qall: '../../static/image/土味.jpg',
                qallBig: '../../static/image/土味Big.jpg',
                isShow:false,   //控制遮罩层marks和大图片是否显示"
                left:0,       //marks左移位置
                top:0,         //marks下移位置
                leftLgImg:0,       //大图lgImg移动的位置
                topLgImg:0         //大图lgImg移动的位置
            }

        },
        methods:{
          //鼠标进入和离开
        enter(){
            this.isShow=true;
        },
        leave(){
            this.isShow=false;
        },
        //遮罩层放大镜
        marks(e){
            var marksWidth=48;//marks的宽
            var marksHeight=48;//marks的高
           if(this.isPC==true){
            //PC端
                this.left=e.offsetX-marksWidth/2;
                this.top=e.offsetY-marksHeight/2;
                if(this.left){
                    this.left=0;
                }else if(this.left>160){
                    this.left=160;
                }
                if(this.top){
                    this.top=0;
                }else if(this.top>160){
                    this.top=160;
                }

                //大d图片除以小的图片的宽高
                this.leftLgImg=-this.left*320/160;
                this.topLgImg=-this.top*181/91;
            }else{
                //移动端
                this.left=e.changedTouches[0].clientX-marksWidth/2;
                this.top=e.changedTouches[0].clientY-marksHeight/2;
                if(this.left){
                    this.left=0;
                }else if(this.left>160){
                    this.left=160;
                }
                if(this.top){
                    this.top=0;
                }else if(this.top>45){
            //45就是小图片的高度的一半,91/2
                    this.top=45;
                }

                //大d图片除以小的图片的宽高
                this.leftLgImg=-this.left*320/160;
                this.topLgImg=-this.top*181/91;


            }


        }

        },
        mounted(){
    if (navigator.userAgent.match(/(phone|pad|pod|iPhone|iPod|ios|iPad|Android|Mobile|BlackBerry|IEMobile|MQQBrowser|JUC|Fennec|wOSBrowser|BrowserNG|WebOS|Symbian|Windows Phone)/i,)) {
        this.isPC = false;

    } else {
        console.log('PC端')

    }


    }
    }
css部分:
/* 左侧大小图样式 160*91  320*181*/
    .productLeft{

        width:160px;
        position: relative;

    }
    /* 左侧中图 */
    .mdImg,.mdImg>img{
        width:160px;
        height:91px;
        margin-left: 15px;
    }
    /*遮罩层superMarks */
    .superMarks{
        width:160px;
        height:91px;
        background-color:rgba(220, 220, 220, 0);
        position:absolute;
        top:0px;
        left:0px;

    }
    /* 遮罩层 */
    .marks{
        width:48px;
        height:48px;
        position:absolute;
        background-color:rgba(220, 220, 220, 0.5);
        /*top:0px;  //内联设置了动态的top,left
        left:0px;*/
    }

    /* 左侧隐藏大图 */
    .lgImg{
        width:160px;
        height:91px;
        overflow: hidden;
        position:absolute;
        top:0px;
        left:195px;
        border:2px solid #aaa;
        background-color:#fff;
    }
    .lgImg img{
        width:320px;
        height:181px;
        position:absolute;
        /*top:100px;
        left:100px;*/
    }
大家的图片的路径记得要写对!!!
还有第二种方法(vue的写法)
先安装此插件:
# 安装 install npm install vue-piczoom --save
使用:
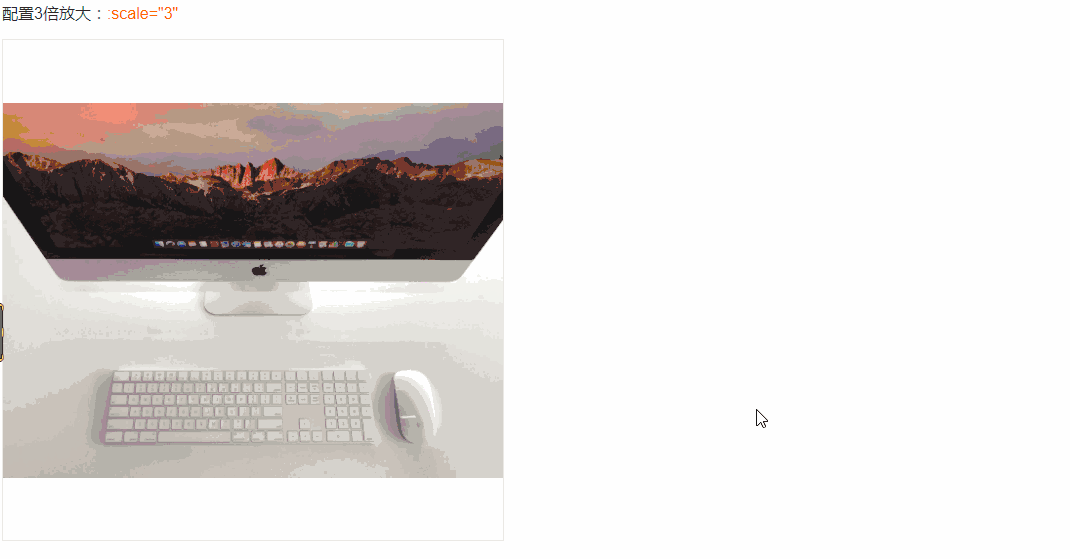
# 使用 use
--script
import PicZoom from 'vue-piczoom'
export default {
  name: 'App',
  components: {
    PicZoom
  }
}

--html
pic-zoom url="static/aze.jpg" :scale="3">pic-zoom>
组件默认是100%的高宽,所以建议将组件包含在一个有固定高宽的容器内。如:
div class="pic-box"> pic-box:width:500px;height:500px-->
     pic-zoom url="static/imac2.jpg" :scale="3">pic-zoom>
div>
 登录查看全部
参与评论
手机查看
返回顶部